Are you looking for an answer to the topic “How do you make a smoky effect in GIMP?“? We answer all your questions at the website Chiangmaiplaces.net in category: +100 Marketing Blog Post Topics & Ideas. You will find the answer right below.
- Step1: Create an Image. …
- Step2: Fill the Black Background Color. …
- Step3: Import Image. …
- Step4: Resize the Image. …
- Step4: Desaturate the Image. …
- Step5: Add New layer. …
- Step6: Add Gradient. …
- Step7: Reduce the Opacity of the Layer.
- Open your file. …
- Create a New Layer and name it Mask 2. …
- Create a New Layer and name it Mask 3. …
- Create a New Layer and name it Mask 4. …
- Merge Mask 2 and Mask 3.
- We can start the action now. …
- Duplicate the background layer by pressing Control-J twice.
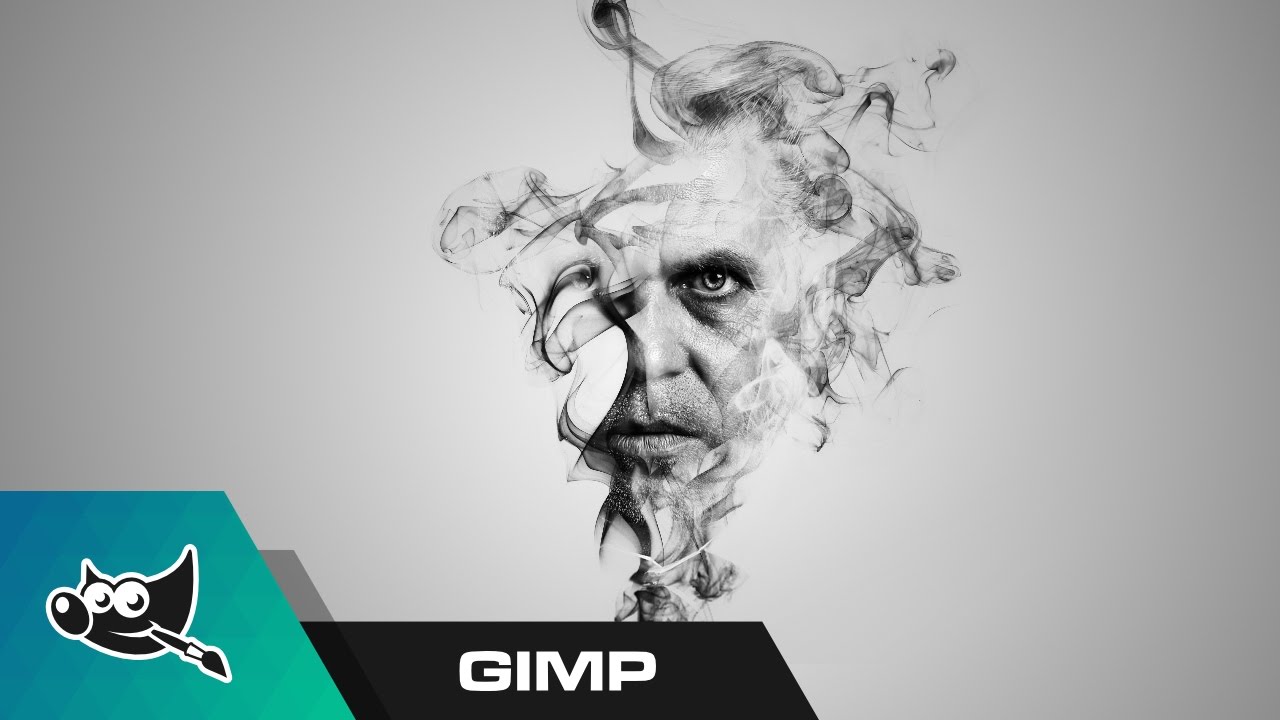
Table of Contents
How do you make a smoke effect?
- Open your file. …
- Create a New Layer and name it Mask 2. …
- Create a New Layer and name it Mask 3. …
- Create a New Layer and name it Mask 4. …
- Merge Mask 2 and Mask 3.
- We can start the action now. …
- Duplicate the background layer by pressing Control-J twice.
How do you make fake smoke?
Fill a metal or plastic container half full of hot water and add a few pieces of dry ice every 5-10 minutes. As the water cools, you will need to add more hot water to maintain the fog effect. As a rule of thumb, one pound of dry ice will create 2-3 minutes of fog effect.
GIMP Tutorial: Smoke Effect
Images related to the topicGIMP Tutorial: Smoke Effect
How do you make a cartoon on GIMP?
Select an image and click Open to open it. It will open the image in a new window. Now, select the cartoon tool from the Filters menu. To activate the cartoon tool, navigate to Filters-> Artistic-> Cartoon menu.
Smoke Effect in Gimp
Images related to the topicSmoke Effect in Gimp

How do I use brushes in GIMP?
Brushes can be selected by clicking on an icon in the Brushes dialog. GIMP ‘s current brush is shown in the Brush/Pattern/Gradient area of the Toolbox. Clicking on the brush symbol there is one way of activating the Brushes dialog.
Smoke to Image in GIMP 2.10
Images related to the topicSmoke to Image in GIMP 2.10

How do I create a cloud effect in gimp?
GIMP has a filter that lets you create clouds graphically. To use it, choose Filters > Render > Clouds > Difference Clouds.
See some more details on the topic How do you make a smoky effect in GIMP? here:
Tutorial: Smoke and Flames – gimpusers.com
Create a new layer on top of all. Fill it with #afbeff and set the layers mode to “Color”, the opacity to 10%. The smoke is done!
12.5. Fog
This filter is found in the image window menu under Filters → Decor → Fog…. 12.5.3. Options. Figure 17.259. “Fog” options.
Smoke effect with Gimp – how it works – Technical tips
You re-open the “IWarp”Filter, choose the deformation mode of twisting, but this Time, “Counter-clockwise”. On to you in the preview window while holding down …
Smoke Effect | GIMP #2 — Steemit
Effects | Smoke Effect | GIMP #2 · Go to the place where you have installed the GIMP. Go to the directories mentioned below. GIMP 2 > share > gimp > 2.0 > …
How do I add a filter in Gimp?
- Select the Brush Tool. Click the “Brush” icon on the main toolbar. This selects the brush as our current tool. …
- Draw Something. Draw a little stick man on your blank image. …
- Add a Filter. Now comes the fun part! …
- Add a Filter. A dialog will open that enables you to change the settings for this filter.
Related searches to How do you make a smoky effect in GIMP?
- gimp brushes
- gimp liquid effect
- how do you make a smoky effect in gimp 2
- gimp fog effect
- how do you make a smoky effect in gimp 2.10
- how do you make a smoky effect in gimp photo
- gimp special effects
- gimp cracked effect
- how do you make a smoky effect in gimp photo editor
- drip effect gimp
- gimp smoke brushes
- gimp glow effect
Information related to the topic How do you make a smoky effect in GIMP?
Here are the search results of the thread How do you make a smoky effect in GIMP? from Bing. You can read more if you want.
You have just come across an article on the topic How do you make a smoky effect in GIMP?. If you found this article useful, please share it. Thank you very much.